…a guide for anyone interested in using D3.v4 forces, and especially those interested in creating their own custom forces and transitions.
A recent Stamen project gave me an opportunity to dive into D3.v4’s forceSimulation() — a modularized version of v3’s force layouts with a ton of improvements. This investigation resulted in two new force modules, ready for your use: d3-force-attract and d3-force-cluster, as well as some knowledge I’ll drop below.
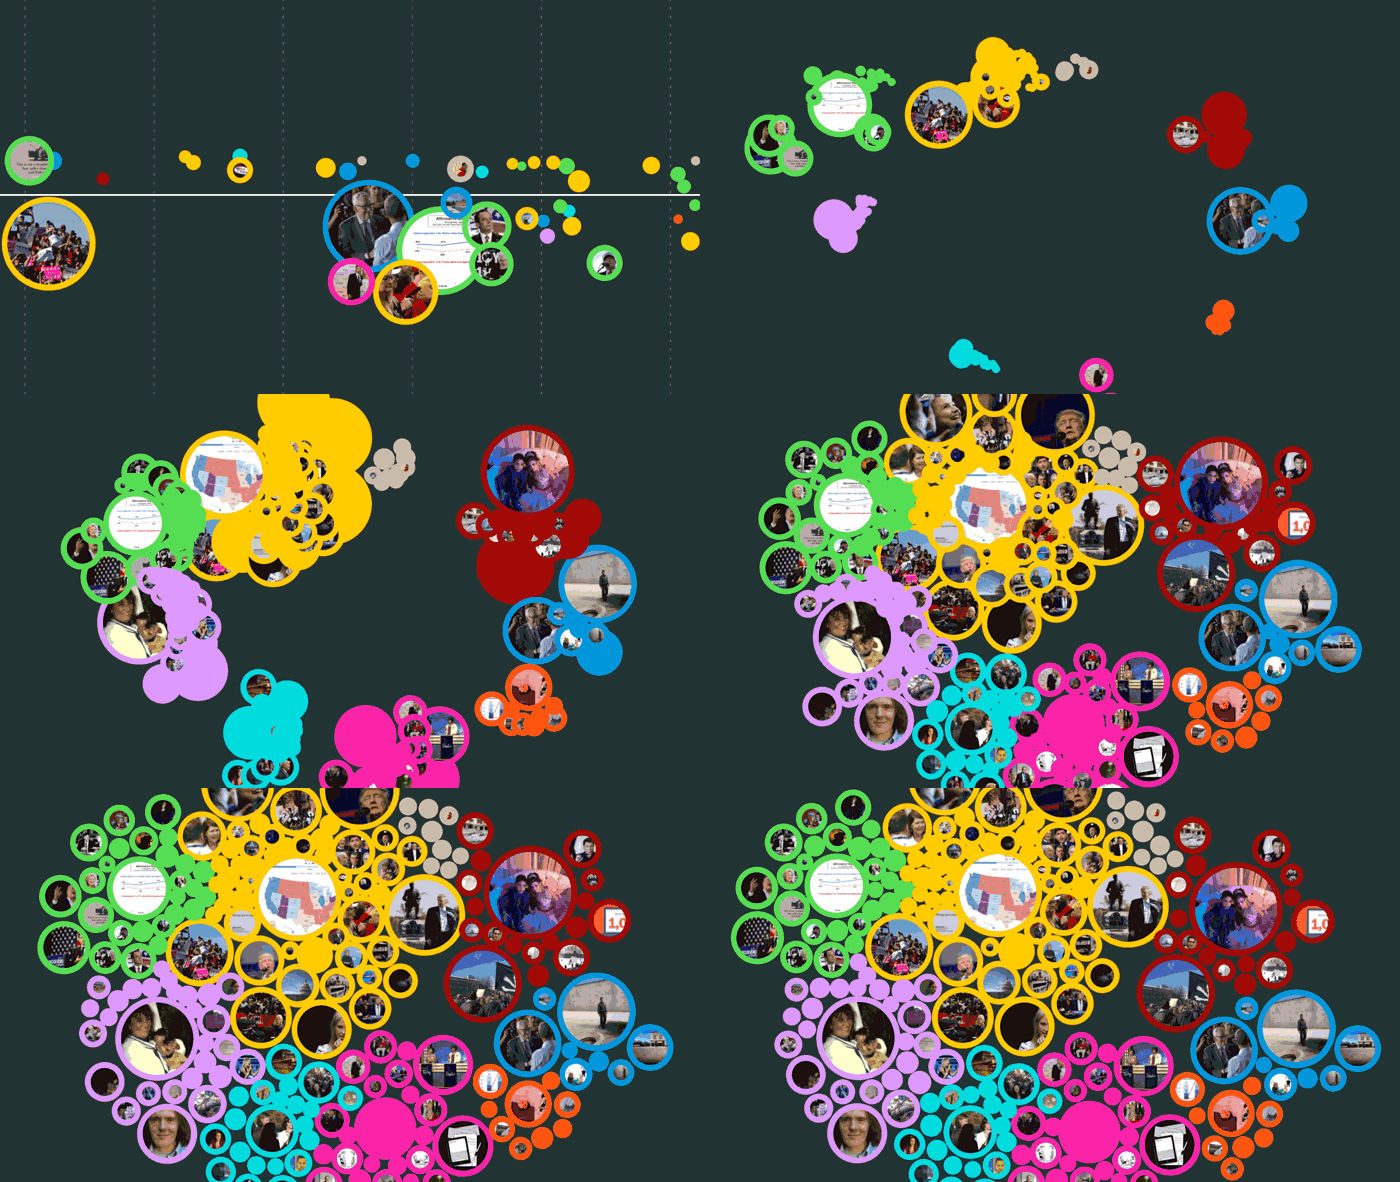
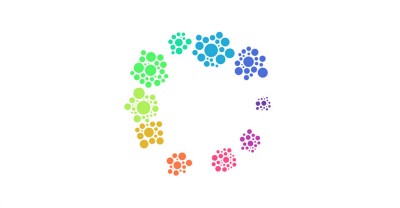
The project called for a pair of layouts, with smooth transitions between the two. The first layout is a cluster chart, with a collection of nodes clustered by content category:

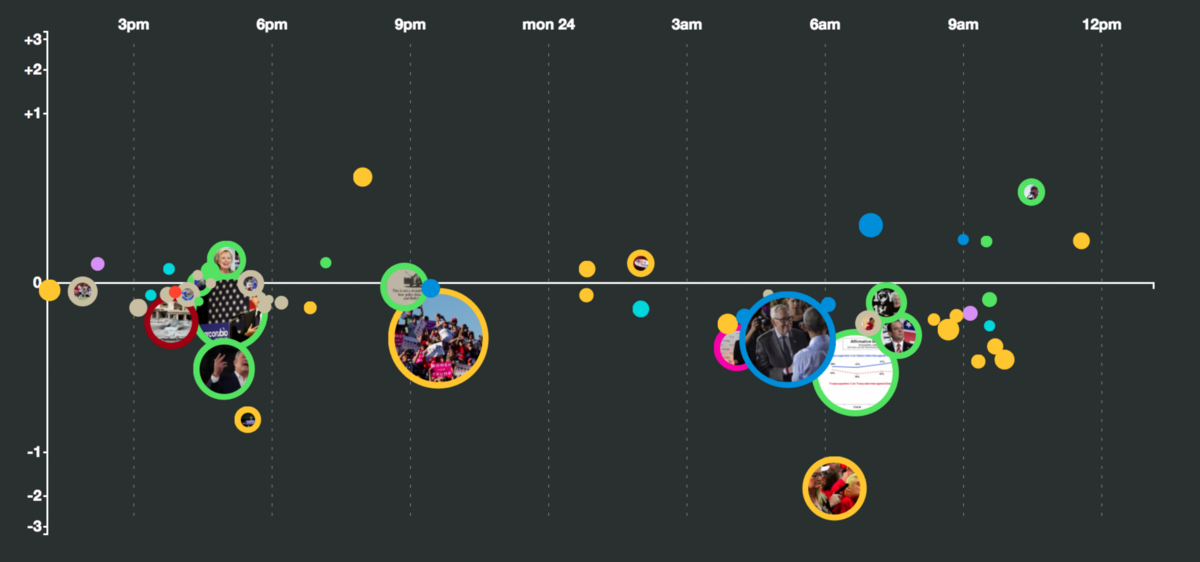
The second layout is a beeswarm scatterplot (a normal scatterplot with collision force applied to improve legibility by preventing node overlap):

Setting all this up called for two major phases of d3-force-related work: writing the custom layouts, and figuring out how to transition smoothly between them.
Creating custom D3.v4 force layouts
One of the best updates in v4’s d3-force is that each force is now its own ES6 module, and implementing new forces and adding them to your forceSimulation is amazingly simple. Well, kinda simple. Depends on how complex your custom force is.
I started by investigating the force modules that ship with D3, in particular d3.forceX (a positioning force that pushes nodes toward a specific x-coordinate), since it’s a relatively simple one. Here’s what I found:
force()
A `d3-force` module must return a function. This function is the public API for the force, and you can hang chained accessor (more on that in a sec!) functions off of it to modify the force’s behavior. This function is the one that D3 calls automatically on every tick of the forceSimulation when the force is added via forceSimulation.force():
let simulation = d3.forceSimulation()
 .force('fancyForce', fancyForceModule());
Chained accessors
Say what? Well, I just made that compound term up, but that’s what they are: functions that return the current value when called without parameters, and set a new value and return the force when called with a single parameter. That, in a nutshell, is…most…of what’s happening in this crazy one-liner:
force.strength = function(_) {
  return arguments.length ? (strength = typeof _ === "function" ? _ : constant(+_), initialize(), force) : strength;
};
All of the core D3 forces have at least a couple of these functions, the most common of which is strength(). These functions are added as properties to the force() function returned from the module, thus building our mini-API. We call them in the usual D3 chaining syntax:
var simulation = d3.forceSimulation(nodes)
  .force('fancyForce', fancyForceModule()
    .strength(oneBazillion)
  );
Per-node value caching
So, that one-liner above…yeah, it’s a mouthful. Mike loves em. I told you about part of it, let’s look at the rest. First, allow me to legibilitate that one-liner….
/*
force.strength = function(_) {
  return arguments.length ? (strength = typeof _ === "function" ? _ : constant(+_), initialize(), force) : strength;
};
*/

force.strength = function (_) {
  if (arguments.length) {
    // an argument was passed...
    if (typeof _ === "function") {
      // it's already a function, so store it locally
      strength = _;
    } else {
      // it's a constant, so coerce it to a number
      // and wrap it in a function that returns that number
      strength = constant(+_);
    }

    // reinitialize
    initialize();

    // enable function chaining
    return force;
  } else {
    // no argument was passed;
    // return the current value.
    return strength;
  }
};
You can read the chained accessor functionality in there, but there’s more.
As with many things in D3, these chained accessors can accept a constant, or a function. When passed a constant, the constant is wrapped in a function that returns that constant. This leaves us with a function either way; that function is stored locally (in this case, as strength, defined outside of force.strength() but within the module closure).
At this point, we have a function we can use to determine the strength value for each node in the simulation. That’s where initialize() comes in. For d3.forceX, it looks like this:
function initialize() {
  if (!nodes) return;
  var i, n = nodes.length;
  strengths = new Array(n);
  xz = new Array(n);
  for (i = 0; i < n; ++i) {
  strengths[i] = isNaN(xz[i] = +x(nodes[i], i, nodes)) ? 0 : +strength(nodes[i], i, nodes);
  }
}
See that strengths Array? And the loop that calls strength(nodes[i], i, nodes)? That’s the title of this section in action: per-node value caching. force.strength() allows us to set up an accessor for calculating the force strength for each node. However, instead of running that accessor function on every node on every tick of the simulation, d3-force optimizes by calling it once for each node only when the accessor or simulation nodes change.
In fact…the docs spell this out pretty clearly if you’re determined enough to read them carefully:
The strength accessor is invoked for each node in the simulation, being passed the node and its zero-based index. The resulting number is then stored internally, such that the strength of each node is only recomputed when the force is initialized or when this method is called with a new strength, and not on every application of the force.
Pretty clever, Mike! This keeps our force simulation snappy. On every tick, all we have to do is pull those cached strengths out for each node and apply them:
function force(alpha) {
  for (var i = 0, n = nodes.length, node; i < n; ++i) {
    node = nodes[i], node.vx += (xz[i] - node.x) * strengths[i] * alpha;
  }
}
Custom force layout checklist
Now that we’ve thoroughly (perhaps too-thoroughly?) dissected how d3-force modules work, let’s take a high-level pass at how to create our own:
- Create a
force()function that will run every tick - Add chained accessors as properties of the
force()function - Write an
initialize()function to store the simulation nodes and cache accessor values for each of them - Wrap it in a closure
That’s about it!
For this project, I had to write a custom clustering force (which I based off of this block) for the cluster chart. Additionally, I wrote a custom attract force, which I used to pull clusters toward the center of the screen; I also used the attract force to smoothly pull nodes to their assigned locations on the beeswarm plot on layout transitions and data updates.
One step further…
Bonus! As mentioned above, I packaged up these two force modules as npm modules. Submitted for your approval:
They’re documented and link to example blocks:
Nice & Smooth: Force layout transitions in D3.v4
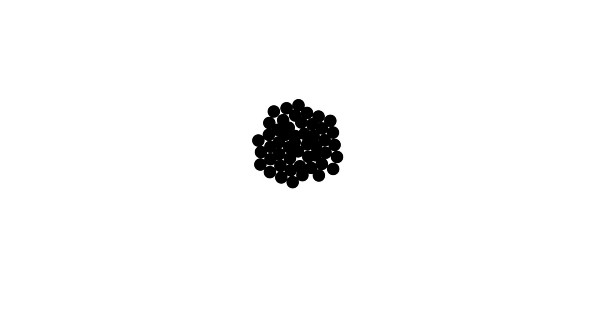
One of the tricky things about transitioning between force-directed layouts in D3 has always been jitter. When you have a bunch of nodes all jostling for almost the same position on-screen, they end up pushing and shoving against each other, creating a jittery result.
For this project, I wanted to see nice smooth transitions between layouts. Here’s where I ended up:


And here’s how I got there:
alphaTarget
D3.v4 gives us alphaTarget, which is a great way to smooth out transitions and eliminate jitter. Here’s the concept: a D3.v4 forceSimulation runs for a set period of time, and each iteration its forces are called with a value alpha that determines how strongly each force will be applied. alpha decays over the lifespan of the simulation, a process which the docs refer to as simulation “cooling”.
Setting alphaTarget instructs a forceSimulation to ease the alpha value back up to that number, gradually warming the simulation instead of jumpstarting it as we did with D3.v3. Set alphaTarget to a relatively low number when updating a layout, and node positions will update smoothly instead of suddenly jumping to life. When we’re ready for the simulation to cool back down, simply set alphaTarget back to 0. Note that the simulation must also be restart()ed when warming it, so the code looks like this:
simulation.alphaTarget(0.3).restart();
When letting the simulation cool, we don’t need to restart, since it’s already running. Simply do this:
simulation.alphaTarget(0);
Layout transitions are an excellent use case for alphaTarget. Another prime use case is node dragging. Mike Bostock has a block that demonstrates this clearly: in dragstarted(), alphaTarget is set to 0.3; on dragended(), it drops back to 0. (Note: the fx / fy properties tell the force simulation that the node has a fixed position — fixed to the mouse location — and should not be positioned by the simulation’s forces.)
Collision easing
The other technique I used to keep these layout transitions butter is to manipulate the collision force strength along the life of the transition. When a layout transition starts, I turn off collision completely:
simulation.force('collide').strength(0);
I then slowly ramp up collision strength over the length of the transition, with a d3.timer:
let strength = simulation.force('collide').strength(),
  endTime = 3000;
let transitionTimer = d3.timer(elapsed => {
  let dt = elapsed / endTime;
  simulation.force('collide').strength(Math.pow(dt, 3) * strength);
  if (dt >= 1.0) transitionTimer.stop();
});
The Math.pow(dt, 3) curves the collision ramp so that it starts slowly, and quickly approaches the original strength value as the elapsed time approaches the total transition time. This has the effect of warming collision strength more slowly than the rest of the simulation.
Scripting layout transitions via forces
In D4, a forceSimulation is primarily a collection of individual forces, each of which runs independently of the other (but collectively all act upon the simulation’s nodes). This gives us latitude to script layout transitions as changes in the component forces.
The transition from the beeswarm plot to the cluster chart runs as follows:
1. Stop the beewsarm simulation.
beeswarmSim.stop();
2. Filter data and update the nodes, then pass into the cluster chart simulation and warm it quickly.
clusterSim.nodes(nodes).alphaTarget(1.0).restart();
3. Crank up cluster strength to get clusters to their positions quickly, and turn off collision.
clusterSim.force(‘cluster’).strength(0.7);
clusterSim.force(‘collide’).strength(0.0);
4. Ramp up collision strength slower than the rest of the simulation (as described above in Collision easing).
5. Apply a strong attract force to the cluster center nodes to pull them quickly to their new locations.
clusterCenterSim = d3.forceSimulation()
  .force('attract', attract((d, i) => [centerX(i), centerY(i)])
  .strength(0.5))
  .nodes(clusterCenterNodes);
6. After the nodes are close to their final positions, stop the cluster center attraction and restore the cluster forces to their normal values.
setTimeout(() => {
  clusterCenterSim.stop();
  clusterCenterSim = null;
  clusterSim.force('cluster').strength(SECTION_FORCES.cluster);
  clusterSim.force('collide').strength(SECTION_FORCES.collide);
  clusterSim.alphaTarget(0.3).restart();
}, endTime);
I’ll leave the transition from the cluster chart back to the beeswarm plot as an exercise for the reader 🙂
May the Force…
I’ll leave the completion of that pun as an exercise for the reader as well. Instead, I’ll apologize for what ended up being a longer exposition on the wonders of d3-force in D3.v4, but offer hope that you find it useful!
With all the goodies and ergonomic improvements in v4, I believe we can expect a lot of new and creative ways that visualization practitioners will employ force simulations in the future. I hope you all are inspired to experiment as I have, and also to share your experiments and the code behind them!
Drop me a comment here or a tweet at @ericsoco if you want to chat more. And if you want us to build more of these…say hi!


